![How To Become a Real Estate Photographer [PRO]](https://res.cloudinary.com/liaison-inc/image/upload/f_auto/q_auto:eco,w_1200:eco,w_1200/v1769178314/content/fash/fash-how-to-become-a-real-estate-photographer-photographer-taking-photos-of-modern-home-interior.jpg)
How To Become a Real Estate Photographer [PRO]
How To Become a Real Estate Photographer [PRO]
What does a real estate photographer do?
Real estate photographers capture images that help realtors sell or rent properties. Your photos become the first impression potential buyers get when browsing listings online. The job involves more than just taking pictures. You'll schedule shoots with agents, scout locations, set up equipment, and edit photos to make spaces look inviting and spacious.
Most real estate photographers work on a per-shoot basis, photographing homes, apartments, commercial spaces, and sometimes construction sites. The work can include interior shots, exterior images, twilight photography, and aerial drone footage.
Step 1: Master the essential skills
Take online courses or attend workshops focused on architectural and interior photography. Platforms like Udemy, Skillshare, and YouTube offer affordable learning options. Study successful real estate photographers' portfolios. Notice how they handle difficult lighting, compose shots, and present spaces.
Technical photography skills to master:
You'll need solid fundamentals in composition, lighting, and camera operation.
Wide-angle photography is crucial for capturing entire rooms in single frames.
Learn to position yourself strategically and photograph at chest height instead of eye level to make spaces appear larger without distorting architectural lines or incorporating too much ceiling or floor.
Learn how to bracket exposures, as you'll sometimes need to blend multiple shots to handle challenging lighting situations.
Post-processing skills in programs like Adobe Lightroom and Photoshop are non-negotiable. Real estate photos often require color correction, vertical line straightening, and sometimes object removal.
Practice in your own home or ask friends if you can photograph their spaces. Focus on mastering composition, lighting, and making rooms look their best.
Business and soft skills to master:
Communication matters tremendously in this field. You'll coordinate with real estate agents, homeowners, and sometimes home stagers to ensure everyone's expectations align.
Marketing yourself effectively separates successful photographers from those who struggle. You need to promote your services, maintain a portfolio, and build relationships with repeat clients.
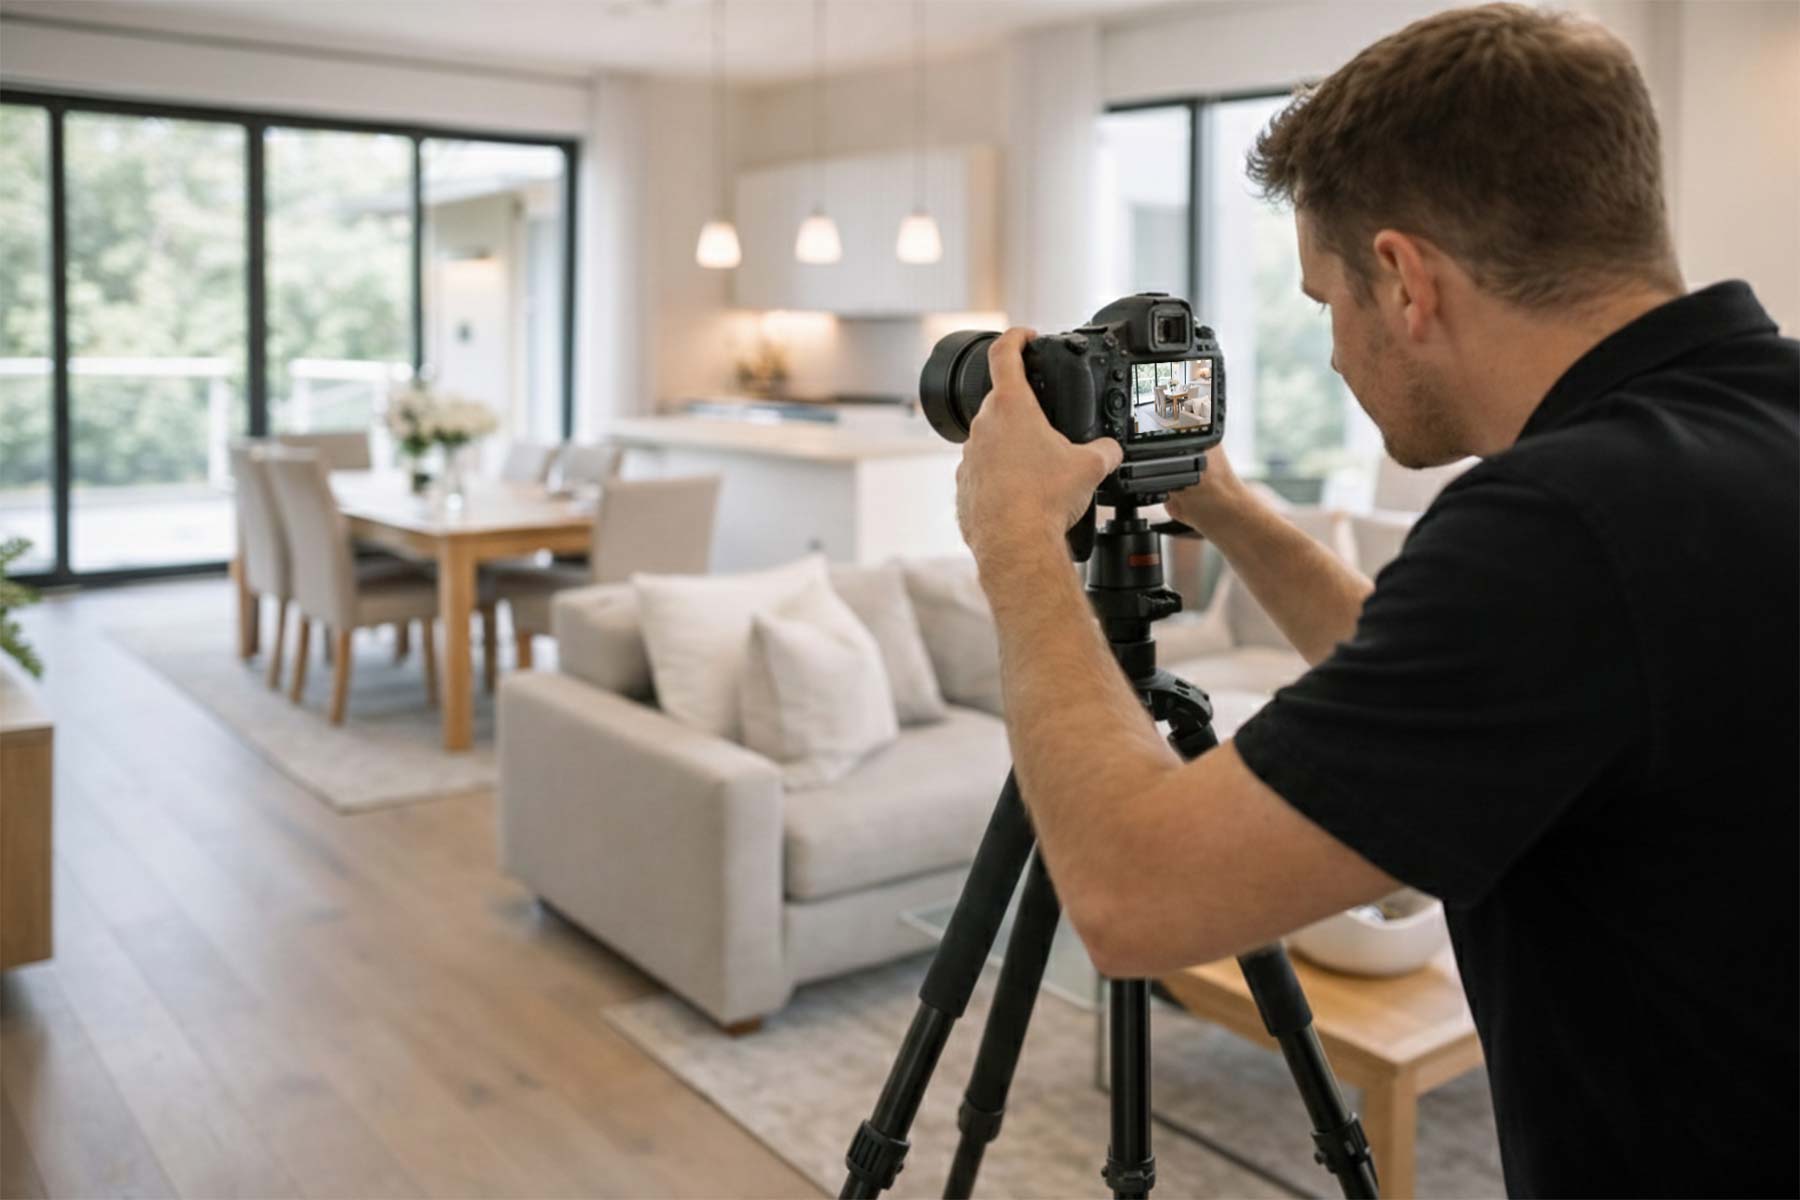
Step 2: Acquire the right gear
You don't need the most expensive equipment to start, but you do need gear that can handle the specific demands of architectural photography. Low-light capabilities and wide fields of view are non-negotiable.
Camera and lenses
You'll need a DSLR or mirrorless camera that allows for manual control. Full-frame or high-quality APS-C cameras are ideal because they capture more detail and offer excellent dynamic range, which is critical when balancing bright windows with dark interiors.
Your most important lens is a wide-angle option with a 10-24mm or 16-35mm focal length to capture entire rooms without excessive distortion.
Tripod and lighting
A sturdy tripod is absolutely essential. Real estate photography often requires long exposures (slow shutter speeds) to soak in natural light, making handheld photography impossible. A flimsy tripod will lead to blurry images.
An external flash or speedlight helps you add light to dark corners and balance ambient lighting. Some photographers use multiple flashes positioned around rooms.
Invest in a remote shutter release to eliminate camera shake. Even pressing the shutter button can introduce blur at slower speeds.
Drone and other optional gear
Aerial photography is becoming increasingly common for many listings. A drone allows you to showcase the property line, the roof condition, and the neighborhood context.
A gimbal stabilizer enables smooth video tours, which many agents now request alongside still photography.
Step 3: Create a strong portfolio
Your portfolio proves you can deliver professional results. Start by offering discounted shoots to build your collection of images.
Present your best 15 to 20 images rather than overwhelming viewers with quantity. Include a variety of property types and styles. Show that you can photograph small apartments, large homes, modern designs, and traditional architecture.
Step 4: Set your pricing
Research what other real estate photographers charge in your market. Rates vary significantly based on location, property size, and services offered. Consider offering packages that include different numbers of photos, drone footage, or twilight shots.
See our guide about real estate photography pricing for details about how to price your services. Clear pricing makes it easier for agents to choose your services.
Many new real estate photographers undercharge, which hurts the industry and leads to burnout. Your pricing should reflect your costs, your time (driving + shooting + editing), and the value you provide.
Step 5: Register your business and get insured
To treat this as a career, you must set up your business legally and get the proper insurance coverage:
Register your business: Choose a business structure, such as an LLC or sole proprietorship. The best choice for you depends on the tax implications and local laws.
Contracts: Always have a standard agreement that outlines usage rights. Typically, you license the photos to the agent for the duration of the listing, but you retain the copyright.
Get insurance: You are entering people's homes with expensive equipment. General liability insurance is essential in case you accidentally knock over a vase or damage a floor.
Get gear insurance: Add equipment coverage to your insurance policy.
Step 6: Market your real estate photography services
Real estate agents are your primary clients. Identify top-producing agents in your area (look at Zillow or Realtor.com) and send a personalized email introducing yourself. Connect with realtors through local real estate offices, networking events, open houses, and professional organizations.
Create a simple website showcasing your portfolio, services, and contact information. Include testimonials once you have satisfied clients.
Use social media, particularly Instagram and Facebook, to share your work. Tag local real estate agencies and use location-based hashtags to increase visibility.
Create a free profile on Fash to connect with clients searching for real estate photographers in your area.
Step 7: Grow your real estate photography business
Real estate agents who love your work become your best source of steady income. Nurture these relationships with consistent quality and service. Offer loyalty discounts, package deals, or referral perks for agents who use you regularly. This encourages ongoing partnerships.
Offer aerial photography, floor plans, or property videos to increase your value per client. Diversified services create multiple revenue streams. Consider commercial real estate photography, which often pays higher rates for photographing office buildings, retail spaces, and industrial properties.
Advanced techniques to help you stand out
Mastering specialized services beyond basic property photography can increase your income potential and help you attract high-end clients who need more than standard listing photos.
Virtual home staging and image enhancement
Learn virtual staging software to digitally furnish empty rooms. This valuable skill helps agents market vacant properties more effectively. Sky replacement and lawn enhancement make exteriors more appealing. These edits should look natural and professional.
Floor plans and room measurements
Offering floor plans sets you apart from competitors and provides significant value to real estate agents. Accurate floor plans help buyers visualize room layouts and overall property flow before visiting in person.
Measure rooms manually using a laser measuring tool, record dimensions carefully, and sketch basic layouts during your photo shoot. Use a software program like RoomSketcher, Floorplanner, or MagicPlan to convert your measurements into polished, scaled drawings that agents can include in listings.
Video tours and virtual walkthroughs
Video content increasingly matters in real estate marketing. Offer smooth video tours shot with gimbals or steady camera movements. 3D virtual tours using specialized cameras like Matterport create immersive experiences that command premium pricing.
Twilight photography
Shooting during the "blue hour" just after sunset creates stunning exterior shots with warm interior lighting glowing through windows. This premium service justifies higher rates since it requires precise timing and often a second visit to properties.
Using our proprietary cost database, in-depth research, and collaboration with industry experts, we deliver accurate, up-to-date pricing and insights you can trust, every time.